Need a quick DIY cosplay? All you need is a t-shirt, a printer, and iron-on paper. Read on for ideas and step-by-step instructions for creating your own iron-on designs.
Iron-On Ideas for Easy DIY Cosplays
Below are several examples of how I have used iron-on paper to create a DIY cosplay. Often all you need is an iron-on and a t-shirt and you can create something!
Mary Jane from Spiderman and Supergirl/Superman are two of the ones I have made several different versions of, including super mom and son costumes.
It also worked great for making a Ghostbuster costume, using a tan shirt I found at Goodwill.


How to Use Iron-On Paper for Cosplay
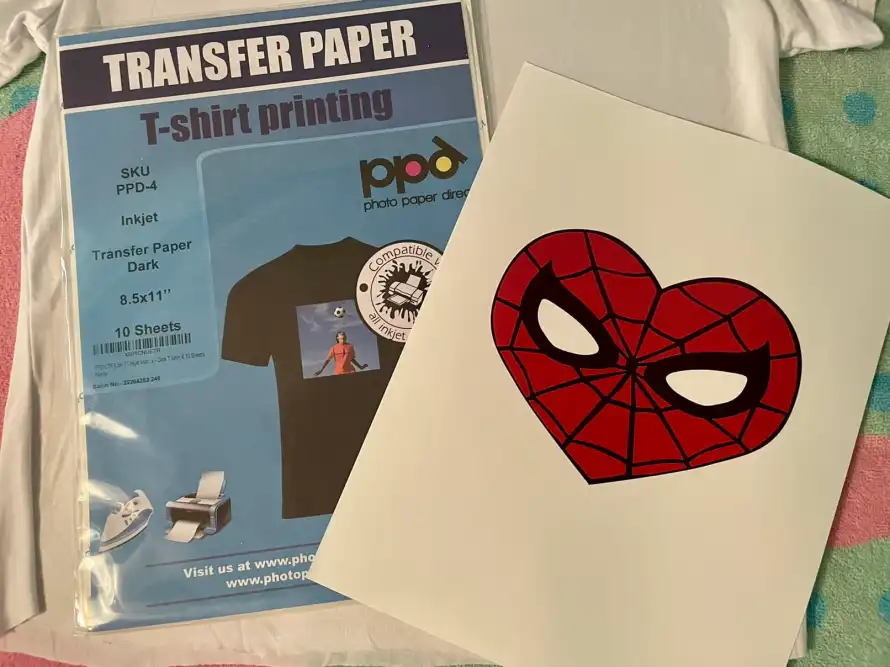
Iron-on paper, specifically the type made for dark colors, is something I try to always have on hand.
I’ve used it for many things, from Spider-Man shirts to a Superman costume for my son, and even on my first business logo shirts when I had a costume shop. Anything you can print out, you can iron on!
Click here to find this same iron-on paper on Amazon. It’s usually the best priced one and works great!

1 – Prepare your image for printing
You can get a decent print from anything at least 150 dpi or higher.
If you want to try making this Mary Jane shirt, Click here to use the Spidey-heart logo I use on my shirts. The link opens up in Dropbox, and the logo is ready for printing.
The iron-on papers for light colors will usually have you print your pictures backwards, but the ones for dark colors are different!
You print it as you want it to appear. I usually do a few test prints on regular paper at the “draft” setting first so I can figure out just the right size before setting the print option to “best” for the final image.

2 – Prep your surface
You can use this iron-on paper on any fabric surface. I’ve used it for shirts, bags, even tights!
For a shirt, make sure you iron the wrinkles out first for a smooth surface. It works best to lie it on top of a thin towel or pillowcase. An ironing board is too squishy. You need something you can press down on while ironing.
There’s no need to put anything inside the shirt, as the iron-on paper doesn’t bleed through, but sometimes it can help with keeping it smooth.
I’m using the transfer paper for dark colors, even though it’s a white shirt, because I like the style of this paper better.

3 – Print your design
For printing, you’ll want to change your usual setting to print at the “best” or “photo” settings so you get a nice clear print.
Make sure to put your paper in so the image prints on the correct side. This brand has a logo printed on the back to make it easy to know which side to use.

4 – Cut out your design and leave a little extra
This part contains one of the most valuable tips in this tutorial– how to cut out the design.
You can cut it right on the border, or leave a small white border around it. Either way make sure you leave a little extra bit on one small part.
This will be the piece you use to get the peeling started. It can be a real pain to peel off the iron-on part if you don’t leave a little peel tab!
You can use this extra piece to rip it a bit and help get the peel started. Once you peel it off, just cut off the extra piece.

5- Iron on your design
Place your peeled off design exactly where you want it to go and then put the ironing paper over it. This prevents the design from sticking to the iron.
Every iron-on paper pack will come with several of these sheets, and they can be used more than once.
Make sure your iron is nice and hot, but turn off the steam function. Press down as you iron the design and make sure you get every section, spending a little extra time pressing down all the edges.
It doesn’t take very long to get the transfer to stick!

6- Put together the rest of your cosplay
The most recognizable part of a Mary Jane cosplay is the logo shirt and the red hair, so this one is very easy to put together!

More Creative Ways of Using Iron-On paper for Cosplay
Besides just using it for iron on logos, you can also use it for design elements!
To make these tights for Enchantress, I used a sturdy pair of tights that were thicker than nylon. (Full confession- first I picked a pair of pleather tights and the design peeled right off! Lesson learned.)
Then I printed out a bunch of green circles, cut them out and ironed them on the tights.

And sometimes, I just make up my own character! Last year for Halloween, I went as a “MOMster”, which was my mom version of Frankenstein.
Just to make sure people got the costume, I made myself a name iron-on for my apron.

So, get some paper and get creative! And if you do use this tutorial or printable Spidey Heart logo for anything, please tag me on Instagram @midnightpumpkinblog or @sewgeekmama
And again, click here to find the same iron-paper I use! I have been using it for years and know this one works well.

Leave a Reply